Some months ago I posted this photo

to announce our DIY bathroom renovation was underway, and promised before and afters to follow in July.
Well... it's September.
And here we are.
This bathroom (our only bathroom) has been one of the few true eyesores left in our home. But, as long as everything was working properly, being our only bathroom, we couldn't justify the inconvenience of a renovation. Or putting any money into making it look cute... since we would eventually be changing everything out. The decor was a mish-mash of things from our apartment and my college dorm. Yummy.
You can imagine how happy I was when Paul was finally convinced it was no longer functional!!!
The months before our do-over things had truly begun to fall apart. Aside from boring fixtures and decor, the vinyl tile floors had begun peeling back at the corners (NEVER install in a bathroom!), poking our feet when we walked on them. The wallpaper was peeling, the sink was cracking... the time had come.

The grout on our countertops was in terrible shape when we bought the house, making the counters look perpetually dirty.


Note the hello kitty stickers gracing the right corner. Classy.
You can also see how the cast iron sink had begun to rust, leaving cracks in the enamel. I'm sparing you some of the ickiest images from inside the sink.

And the month before we started work our lovely daughter decided to peel away at the peeling wall paper!


I was super excited to address storage and organization issues. Having only one bathroom really isn't a problem for us, by the standards of most in the world we live in luxury. It's simply important to use what space we have to it's best advantage. Clearly, this shower rack we bought for our first apartment is no longer cutting the mustard.

We made a list of things to be done, and assigned a large project to each weekend for a month.


And Viola!!!
This photo makes me smile even now! It turned out so perfectly the way I wanted!!!

We replaced the floors (a wonderful 18 hour day, but so worth it. You can see us above cutting the vinyl outside at midnight!), painted the walls, and refinished the countertops with porch enamel. It is holding up very well, and looks 1000% classier (not to mention cleaner!)

We also added cute little cupboards for extra storage. Our bathroom is super long and we wanted to maximize the vertical aspect of that space. Mine's on the left, Paul's is on the right ;)


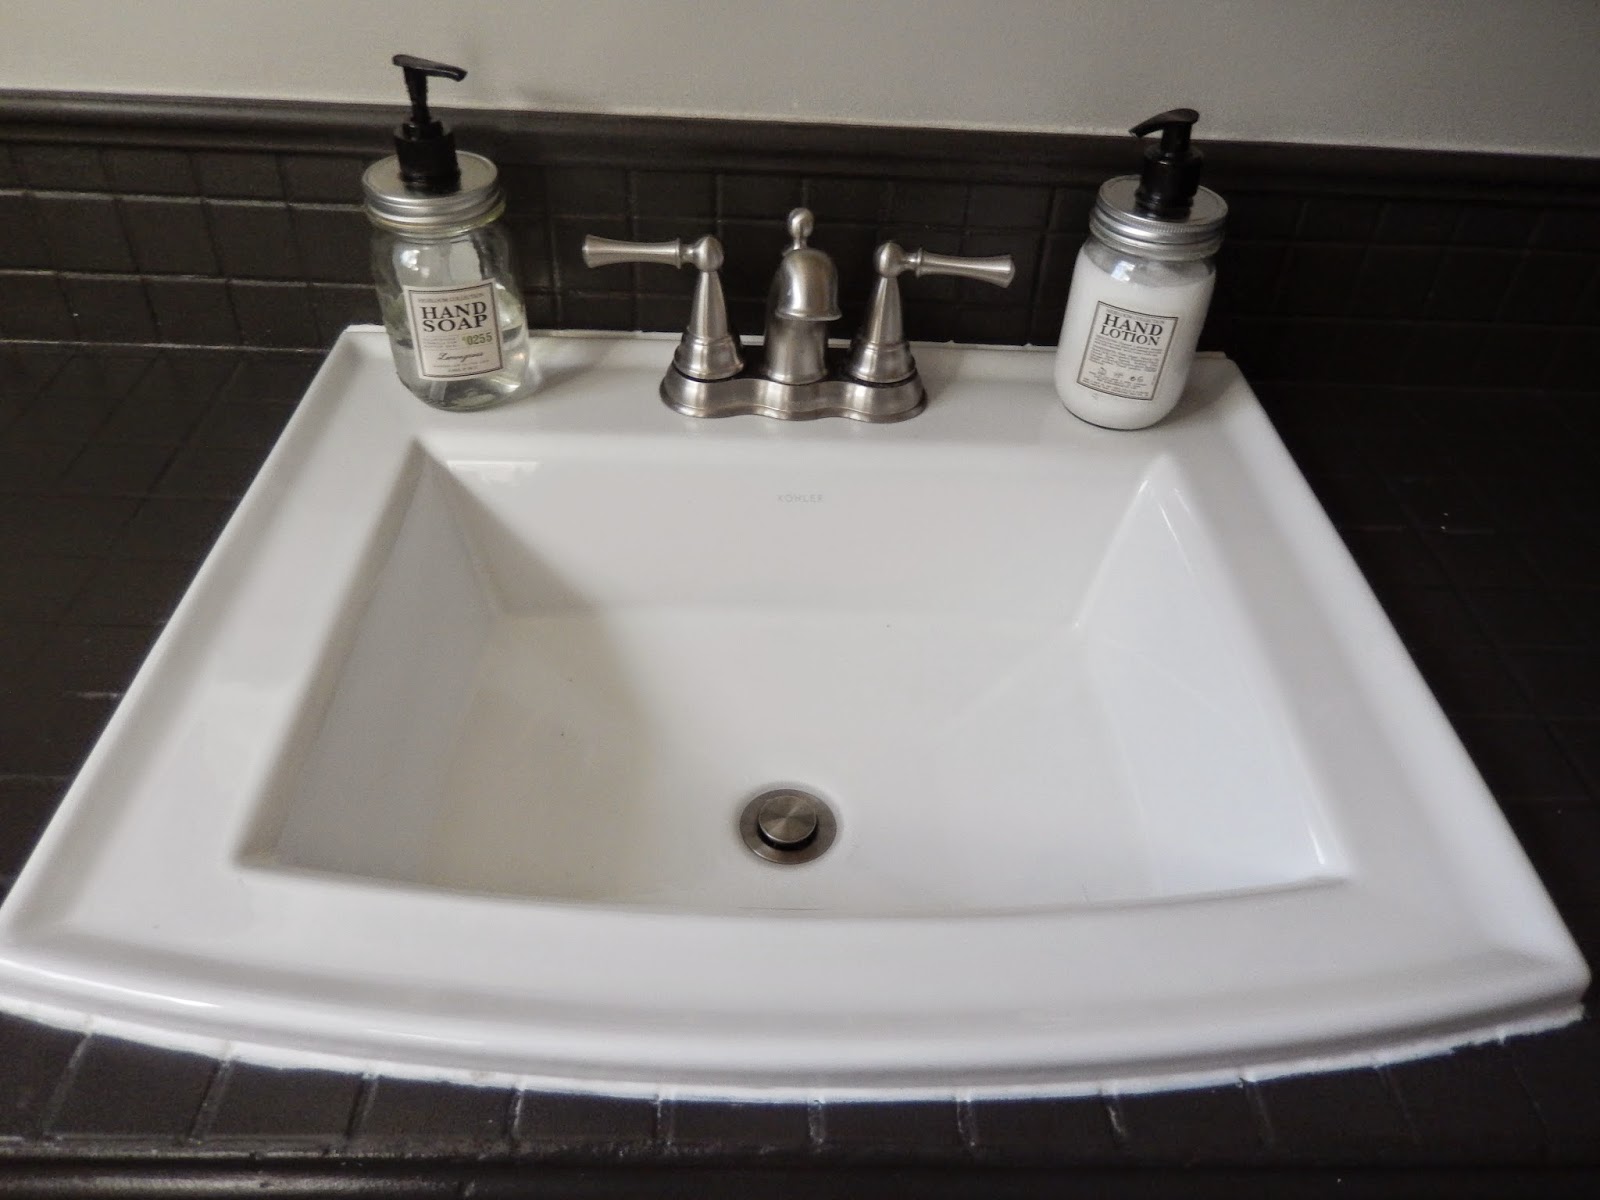
My handy hubby also replaced the sink and installed amazing new fixtures! Go back and look at the original faucet.
I KNOW!!!!
I love our little potty corner :)
Again maximizing the space, we added a vintage style magazine rack, and a cute wooden box to hold a few "necessaries" should our guests find themselves in a fix!

We tossed the old shower rack in favor of sleek glass shelving to top the shower wall. More storage, more organized, and the illusion of more space while in the tub :)

You've caught the occasional mirrored glimpse so far, but I'd like to introduce you to (in my opinion) the star of the DIY show. We put so much work into giving this room character that I couldn't stand using just any old shower curtain. After days of online searching it became clear my ideal did not exist, and those that came close rang in at over $200. Not going to happen.

So... I made it. Because I'm a perfectionist and that's what we do.
I found a free image via the graphics fairy.
I found a free image via the graphics fairy.

Traced it.
(Hello Kilkee!)

And painted it on with permanent fabric paint.
This stuff is the bomb. I've already washed the curtain...no change.

I love how it turned out!

So now you've seen it! The old, the bad, and the lovely :)
And now I say adieu with one last side by side for you.


